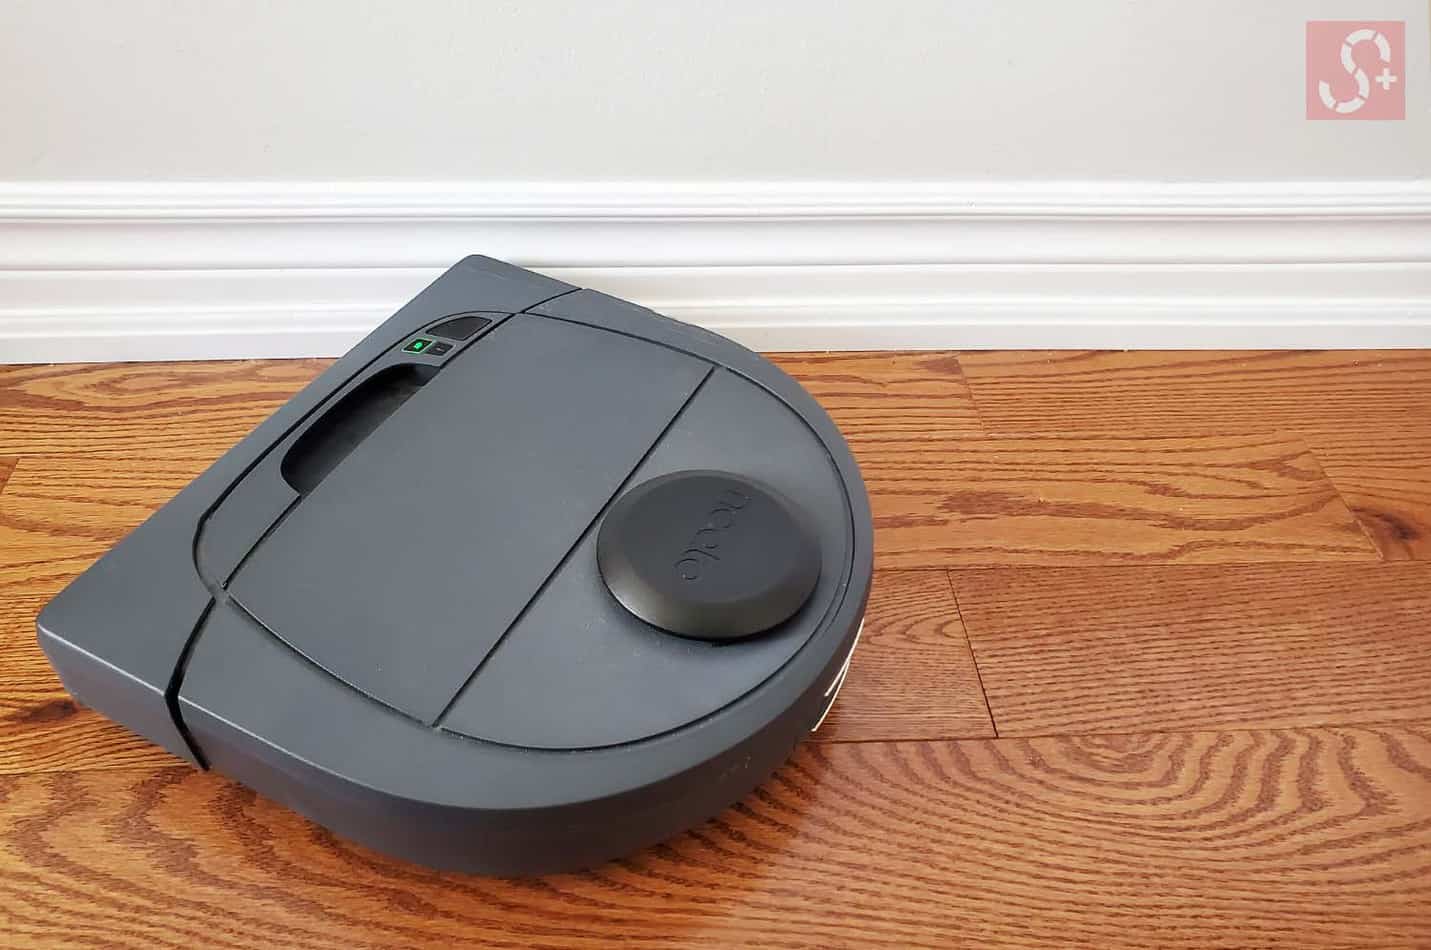
A robot vacuum can potentially scratch baseboards If you don’t take preventative steps.
The first couple of months after owning my robot vacuum, I noticed minor scuff marks on my white baseboards.
After analyzing the marks closely, I immediately realized my Robot vacuum bumping into the baseboards was the leading cause.
I quickly figured out a few solutions that worked like a charm! I will go into more depth in this article and explain what I did to solve this problem.
One quick solution to prevent robot vacuums from leaving scratch marks on your baseboards is to stick felt patches on several areas of your robot vacuum.
This will create a soft barrier between your robot vac’s hard plastic exterior and your baseboard.
LATEST VIDEOS
Adding felt patches to your robot vac is not a permanent solution, but it will solve the problem for the time being.
You will need to replace it if it falls off or try some other solutions recommended In this article below.
When your robot vac navigates around the house, it comes into contact with dust and dirt.
The dust and dirt become caked onto the surface from prolonged use.
Your felt patches can also pick up dirt, which will rub off on objects in your home.
That’s why I recommended changing them when necessary. Or change it more frequently if you use your smart vac constantly.
Using Felt Patches on Botvac to Prevent Baseboard Marks
It’s a straightforward process of applying felt patches to your robot vacuum.
The first thing is to clean your robot bot thoroughly with a cleaner of your choice.
This will remove any pre-existing dirt that might come into contact with your baseboards and also give the adhesive a clean surface to stick on.
Take your patches and start the place them around your robot vacuum one inch apart.
These small patches should go all the way around entirely. Doing this will make sure no part of your robot’s hard plastic body will come into contact with your baseboards.
Avoid placing felt patches over any metal charging areas of your robot vacuum or seams.
You should only be putting the patches on the plastic outer body of the robot vacuum.
Allow your robot vacuum to fully charge and do a complete cleaning cycle of your home to make sure the placement of the patches doesn’t affect your smart vacuum charging or navigation.
If you notice any issues, move the felt patches slightly over on a different area of the base.
Repeat this process until your robot vacuum runs without any problems.
Take note of the placement of the felt patches.
When it comes time to replace the old felt patches with new ones, you’ll want to place them back in the same position.
Where Do I Get Felt Patches?
You could usually find them at your local hardware store or dollar store. They’re typically placed on the bottom of the furniture so they can glide on hardwood floors and other surfaces.
Use light color felt patches only. This will help prevent any dye from the felt from rubbing off onto your baseboard. Also, light-colored felt patches will help identify when the felt is dirty and needs to be changed.
Prevent D-Shaped Robot Vacuums From Scratching Baseboards
The process outlined above is for the typical old-shaped robot vacuums. If you own a D-shaped Robot vacuum, the placement of the felt patches will be slightly different.
The D-shaped robot vacuum has two corners and a rounded side, hence the name D-shaped.
In both corners of the robot bot, you will need to place felt patches that immediately meet each other in both corners, sort of like an L-shaped corner cap.
Then place you’re felt patches 1 inch apart on a straight side of your robot vacuum. Then continue the process of placing felt patches 1 inch apart around a curved side of the D-shaped vacuum.
Clean Robot Vac to Prevent the Transfer of Dark Marks
Over time, your robot vacuum picks up dust and dirt around your home and sticks to the surface of your machine.
Clean the surface of your robot vacuum. Use soap, water, and a damp cloth to wipe all around your robot vac.
Continue this process all the way around until completely clean.
Cleaning Robot Vacuum Sensors to Improve Navigation
Your robot vacuum sensors allow it to navigate your home. Keeping it clean and free of debris is essential!
There is a likelihood of your robot vacuum coming in contact with your baseboards if the navigation sensor is dirty with debris.
Imagine trying to drive a car with dirty glasses on! This is how your robot vacuum feels when its sensors are not kept clean.
Be sure to go over your robot vacuum sensors with a cloth or q-tip to ensure the sensor is free from smudges.
Adjust Bot Navigation Settings to Reduce the Chance of Baseboard Marks
Some robot vac models have a setting that helps your robot vac navigate your home more carefully.
Using this setting could be an alternative to using felt bumpers.
On my specific brand, Neato botvac, I have an option called Extra Care – gentle navigation.
Have a quick look to see if this is in your smart robot vacuum application.
If you don’t see it, you can always refer to the user manual or contact support.
Is There Any Brand of Robot Vacuum That Won’t Scratch My Baseboards?
Many brands of robot vacuums function similarly. They rely on a sophisticated navigation system to find their way around your home.
To do an adequate job sucking up dirt, the robot vacuum must get close to your walls.
When your robot navigates close to your baseboards, there is always the chance that it can leave a mark.
Using an O-shaped robot vacuum over a D-shaped robot vacuum may reduce the chance of scratching your baseboards.
D-shaped robot vacuums have two 90-degree corners that can come into contact with baseboards when it makes a sharp turn.
I’ve even witnessed my robot slightly riding up my baseboard from time to time when it makes a sharp turn.
Obstructions That Can Cause a Robot Vacuum to Mark Baseboards
I’ve noticed plant pots, speaker stands, light stands, and other objects that can cause your robot vacuum to mark baseboards.
Your robot vac can find its way into the gap between the object and the wall.
This gap causes your bot to maneuver in a manner that sometimes causes it to bump the baseboard and leave marks.
The quick, easy solution is to move the object closer to the wall so that your robot vac won’t navigate into the gap.
Or move the object away from the wall allowing enough space for your robot vac to pass between the thing and wall.
Final Thoughts
Not everyone will encounter this issue. And If you do, it’s a small price to pay in exchange for the massive benefit of owning a robot vacuum.
A robot vacuum is one of the best time-saving tools on the planet. It will pretty much eliminate the chore of sweeping.
The essential tips and tricks outlined in this article should be more than enough to prevent this issue from occurring.


