I love my robot vacuum! Regardless if I’m out and about or lounging around at home, it goes on its merry way, cleaning the floor. It saves me so much time by pretty much eliminating my sweeping duties.
I don’t think I could ever go back to a life without a robot vacuum!
That’s why proper maintenance is so essential to keep my robot vac running.
Over time your robot vacuum collects dust, dirt, hair, fur, and other objects from the ground. Without sufficient maintenance, your robot vac will not perform well.
Think of your robot vacuum like a car. When you see your vehicle’s in-dash maintenance lights turn on, you have to address it. Or face the consequences of your car breaking down on you.
Depending on the robot vacuum brand you have, you might receive a variety of maintenance notifications on your mobile device.
It’s good practice to be proactive with maintenance instead of entirely relying on notifications.
I tend to forget about my robot vac entirely due to how passive it feels because I have it on an automatic cleaning schedule. I set it up once, and it goes off by itself and vacuums twice a week.
There are many types of robot vacuums that share similar components. This cleaning maintenance guide will provide general information that will help you maintain most robot vacuum brands.
How often you maintain and clean your robot will vary from household to household.
There are three main factors when it comes to how often you should perform maintenance on your robot vac.
How often your robot vacuum cleans your house?
How much debris your robot vacuum collects?
How large your home is?
For most common situations, cleaning and maintaining your robot vacuum once or twice a month will be more than enough. This doesn’t apply to components like your dirt bin and filter, which needs to be cleaned more frequently.
In this guide, I will be using the Neato Botvac D3 Connected as a demonstration model. This guide will also be useful if your model has a side cleaning brush or a self-emptying dirt bin.
Tools needed for maintenance
- Cutting tools – Knife, scissors, snitty
- Compressed air or compressor
- Cotton swab
- Microfiber cloth
- Water
- Screwdriver
- Rubbing alcohol
Empty and clean dirt bin (traditional and self-emptying bins)
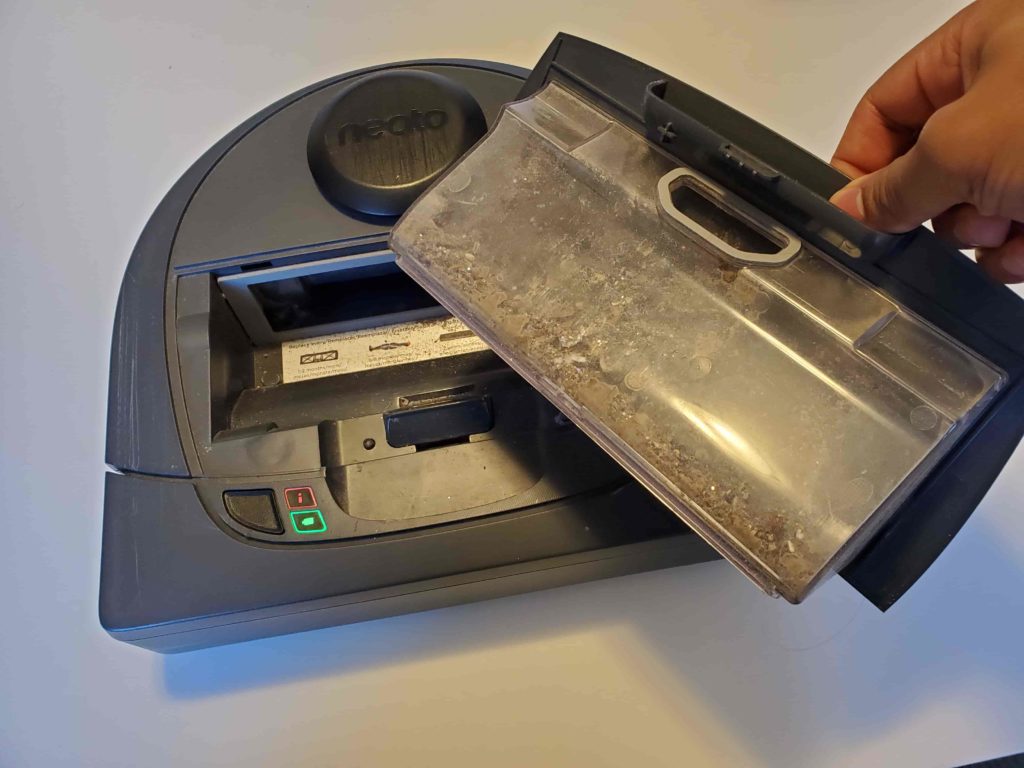
Many Robot vacuum models dirt bins are located at the top with a handle to dislodge the container.
The more premium brands have a self-emptying bin feature. The main bin that collects dirt from the robot vacuum will still need to be emptied and maintained periodically.
I like to frequently empty my dirt bin so that my bot vac keeps running on the schedule set without interruption.
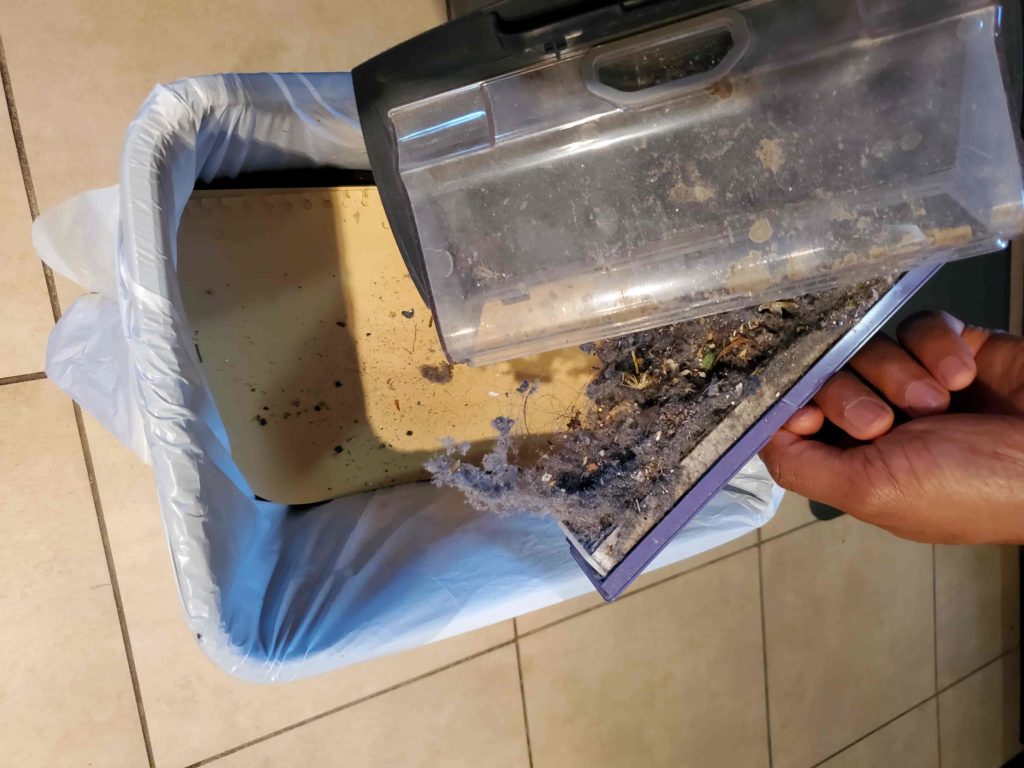
If your dirt bin is full, the robot will not run, and you will be alerted to clean the dirt bin. This can be a real nuisance, especially if you’re not home to clean the dirt bin, but there is a scheduled cleaning queued up.
There will be times I step into my home, and my robot vac is still on its base with the indicator light flashing, letting me know that the dirt bin needs to be emptied.
It’s also a good idea to give your robot vacuums dirt bin and the area that houses the dirt bin a good spray with compressed air. This will prevent a build-up of dirt from resting on or reaching vital components.
Clean and maintain filter
Having a dirty filter will impact the suction power of your robot vacuum. Make sure the filter is as clean as you can get it. Using compressed air or a compressor could help speed up the process and provide a more thorough cleaning.
I recommend cleaning your filter outside, if possible. Cleaning a filter in your home will result in the dust flying up in the air and settling on your floors and furniture.
When I’m cleaning my filter in my home, I give it a few firm taps over the garbage bin.
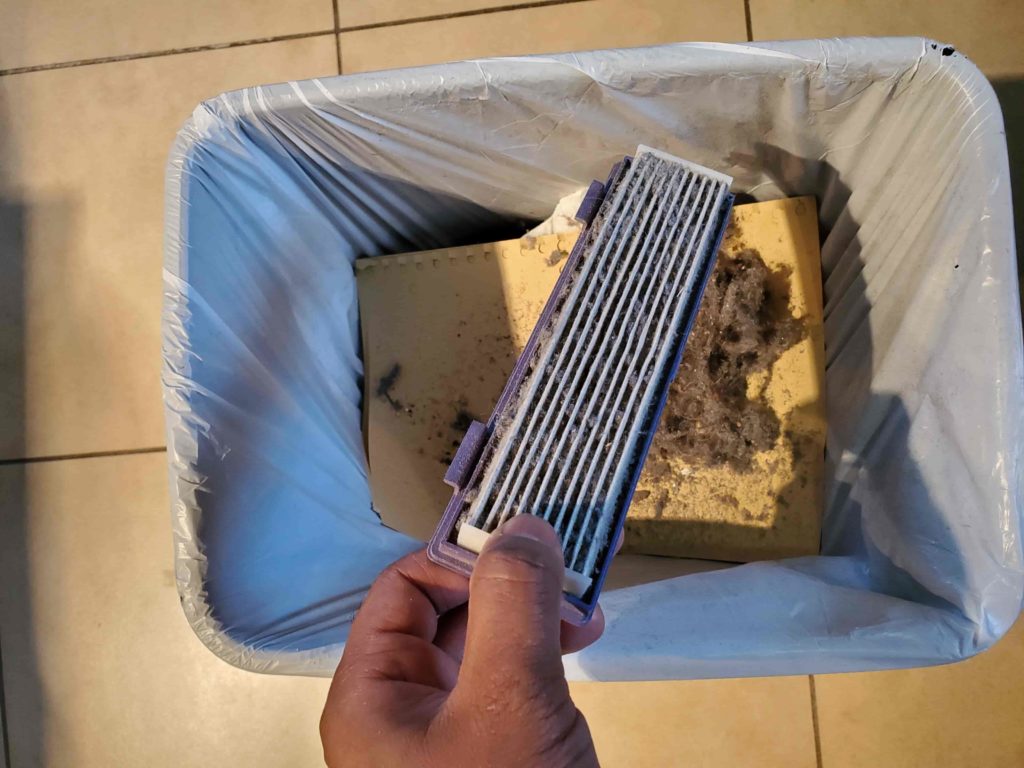
Some robot vac Brands recommend changing your filter every three months, but you could prolong the life of your filter with proper cleaning.
Some manufacturers recommend changing your filter every six months. Keeping your filter updated provides better performance and reduces the chances of bad odors.
Clean and maintain roller, side brush, and axels
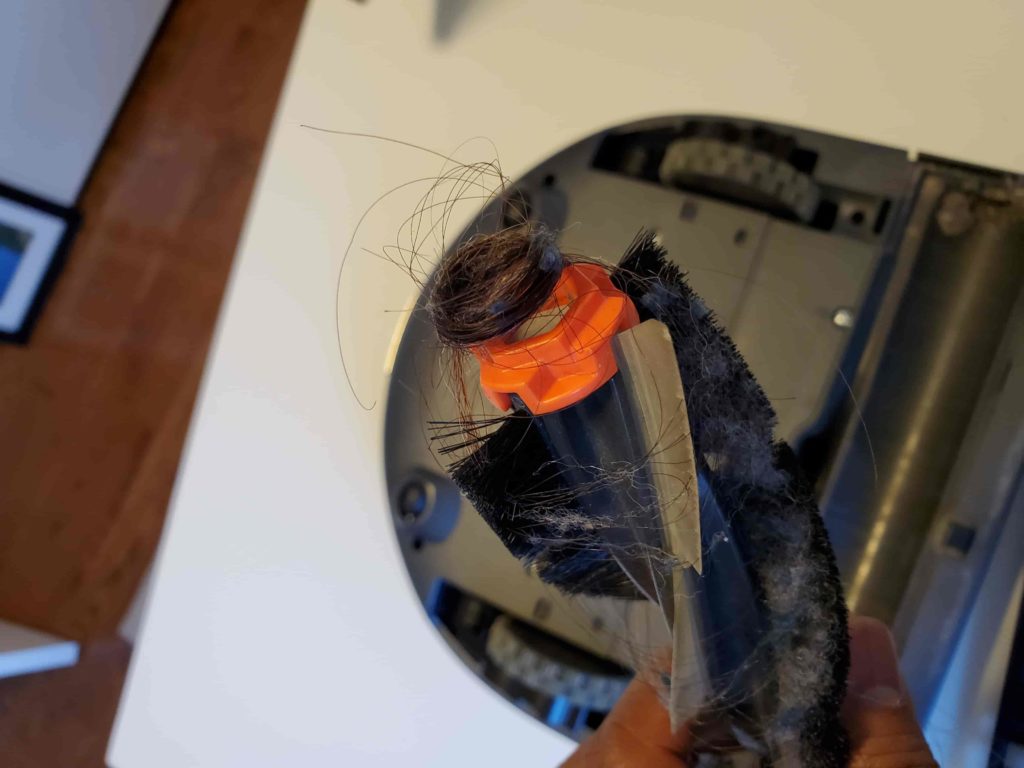
Many robot brands have a detachable roller and side cleaning brush. This is beneficial to help users dislodge any wrapped-around fibers, threads, or hair. Too much fiber or thread debris can cause strain on the rotating brush.
The best way to remove fiber, string, or hair wrapped around a roller or side brush is to cut it right off.
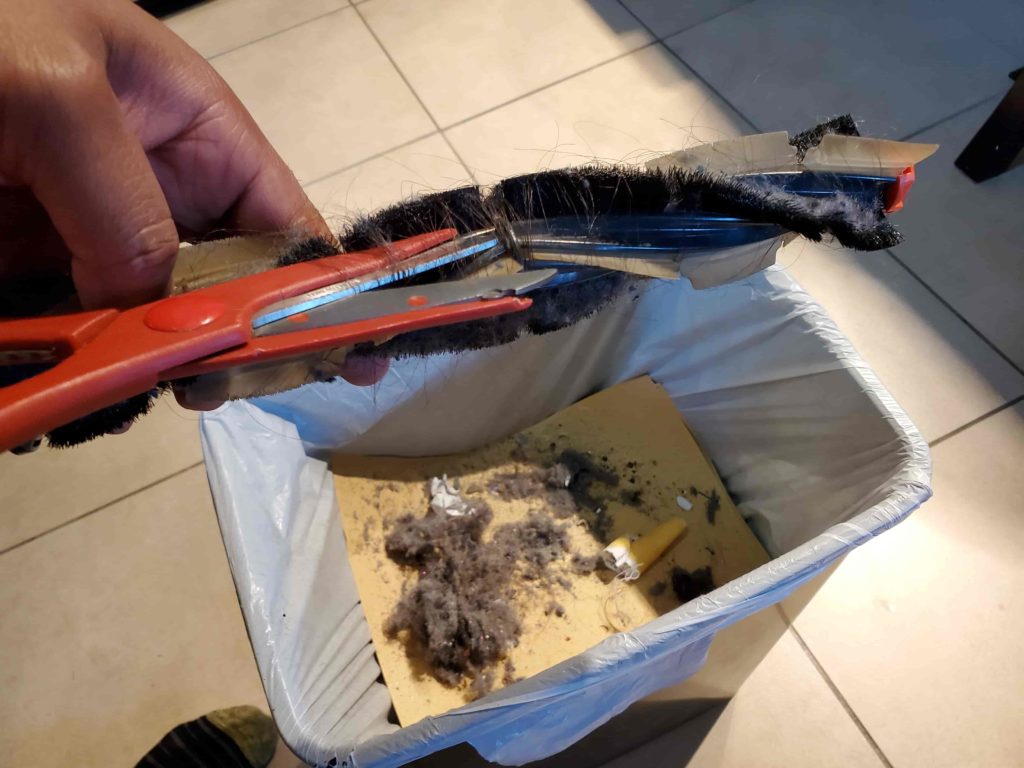
You could use a sharp blade or a regular pair of scissors. I prefer using scissors!
If hair is wrapped around rollers
First, place your robot top-down, so that roller is facing you. Remove the casing around the roller area. Some brands you will be able to snap out, other brands require a screwdriver.
Once the casing is removed, you can now access the roller. In most brands, the roller should slide out of its slots.
With the roller entirely removed, you can now freely access the axel and brushes.
Position your blade on one end of the roller, then firmly slice all the way down to the opposite end. Give your roller a couple of turns until it’s on the opposite side, and repeat this cutting pattern.
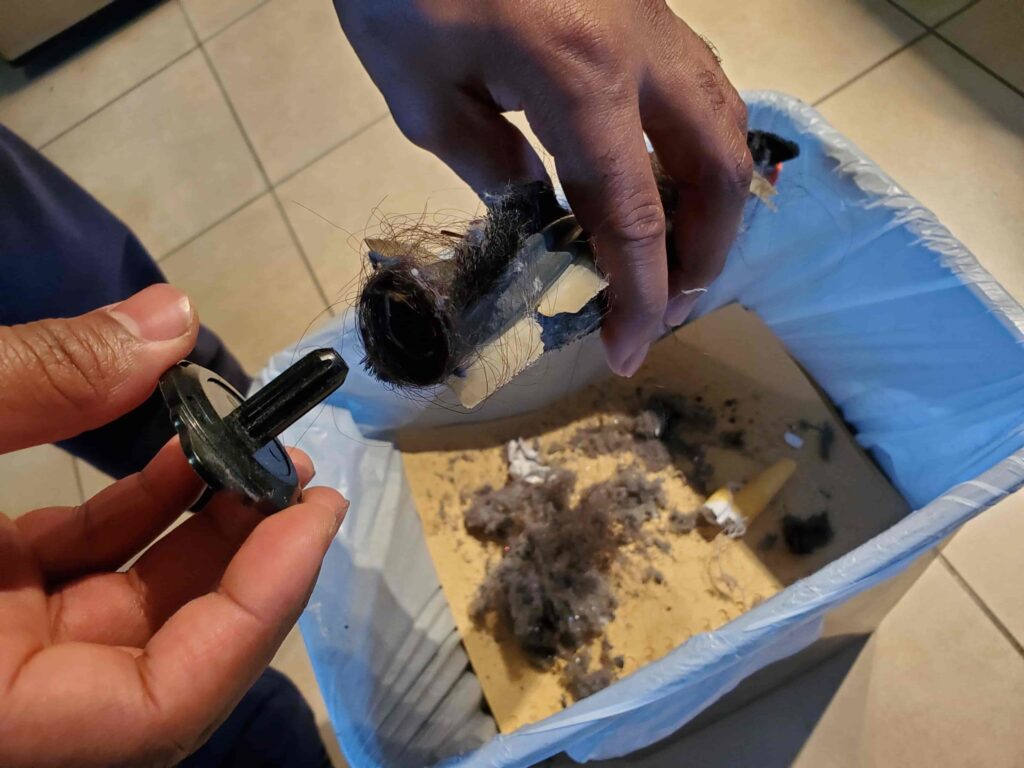
Then you could either pull the hair off by hand, or you could use an old comb to dislodge the hair from the roller.
Some of the more premium brands have anti-tangling features. But most average bot brands will need to be changed periodically.
Some robot vacuum brands recommend changing your roller every six months. But with proper maintenance, you can prolong the life of your roller.
Clean and maintain axels
Axles are the component that allows your roller to spin. They are located at the very end of your roller. It is essential to keep this fluid free of all debris. You might need to cut off hair or fiber tangled in axles to keep it free and able to spin.
Wheels
As your robot vacuum rolls around, the house debris from the floor can become lodged in the wheels and cause it not to spin freely. It is good to use compressed air to spray debris out of the wheels.
Sensors
Your robot vac relies on its sensor to navigate around your house. If your sensors are obstructed with dirt, it will significantly impact your robot’s ability to find its way around your home.
Using a cotton swab dampened with alcohol or water, rub it over the robot sensor. Continue this process across all the robot sensors till complete.
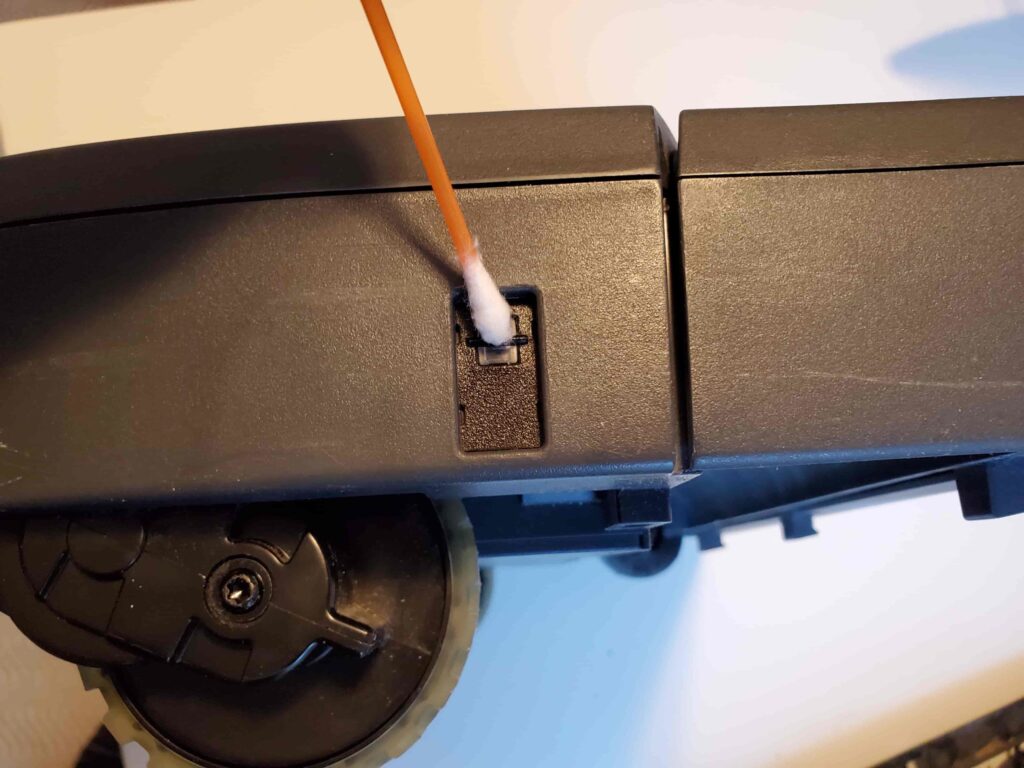
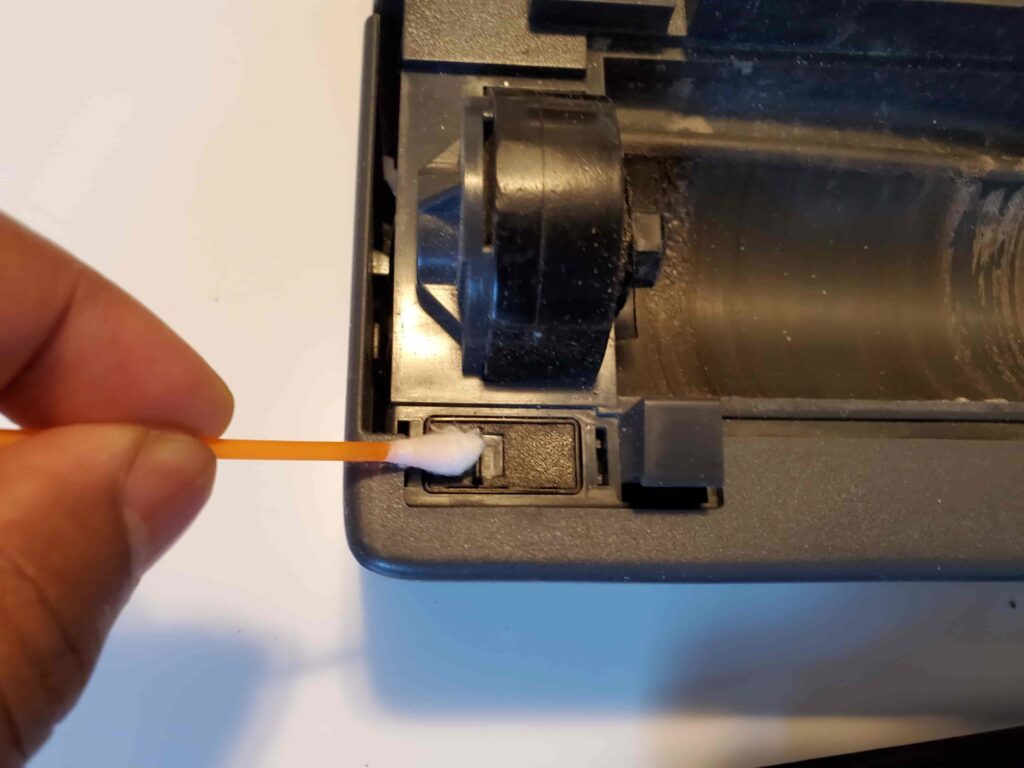
You might need to follow up with a microfiber cloth to clean the excessive debris that the cotton swab missed.
Cleaning the body of a robot vac
Cleaning the body of your robot’s back is less vital for its performance. I choose to do it because of a couple of key factors.
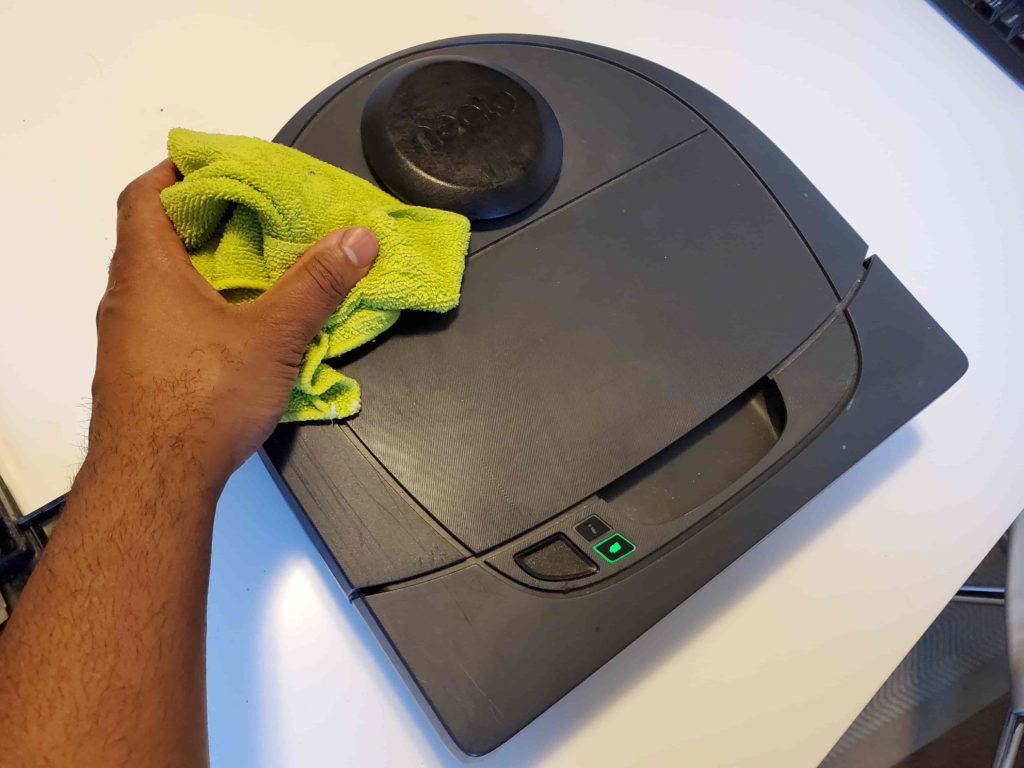
One it keeps it more aesthetically pleasing, two the dirt that accumulates on the robot bots body can rub off on your wall, furniture, and baseboards as it maneuvers around. Keeping the body of your robot vac clean reduces the chances of dirt rubbing off on objects around your house.
Clean charging contacts
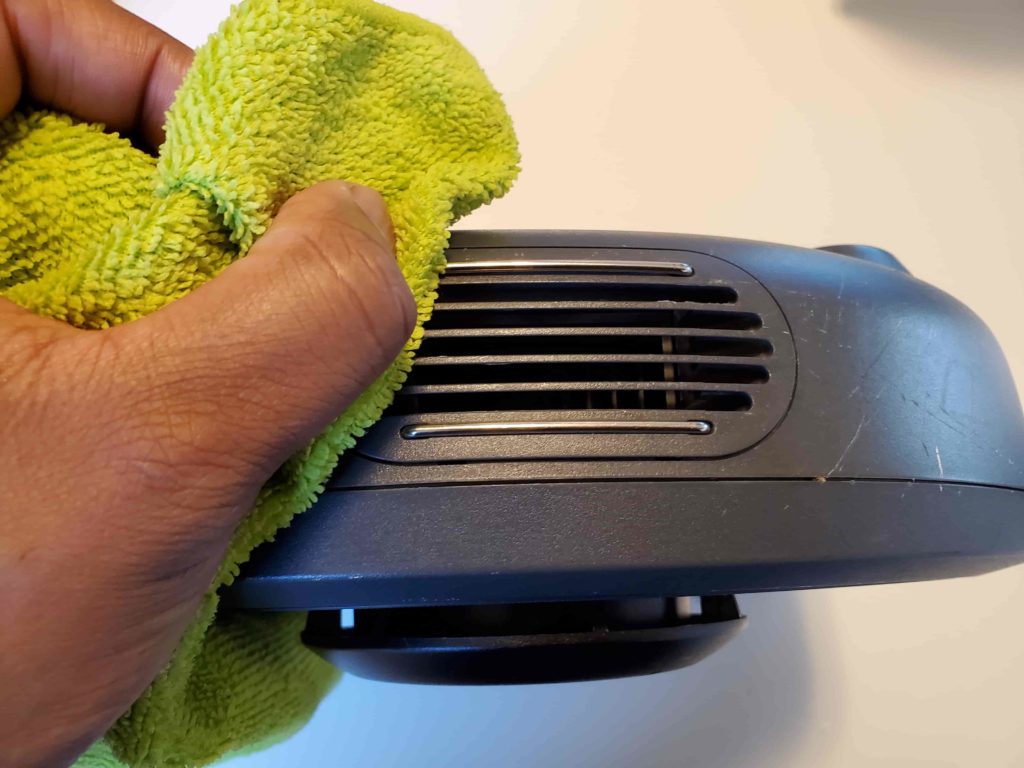
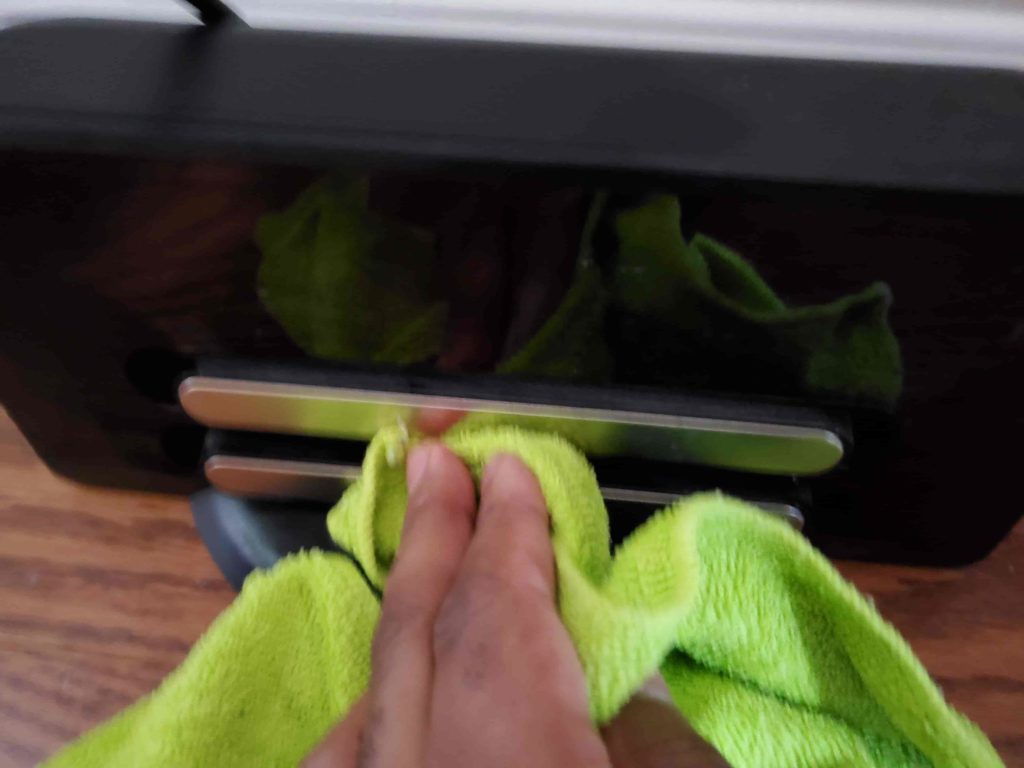
If you’re having issues with your robot vac charging, it might be the fact that your charging contacts are dirty. Using a damp cloth, locate the contacts on both your docking station and robot and give them a good wipe.
Battery health
After performing all the maintenance items above, you may still notice your robot vac performance is still poor.
Depending on the size of your house, it might take multiple runs to do a complete clean. You might notice it takes more runs to complete a full cleaning.
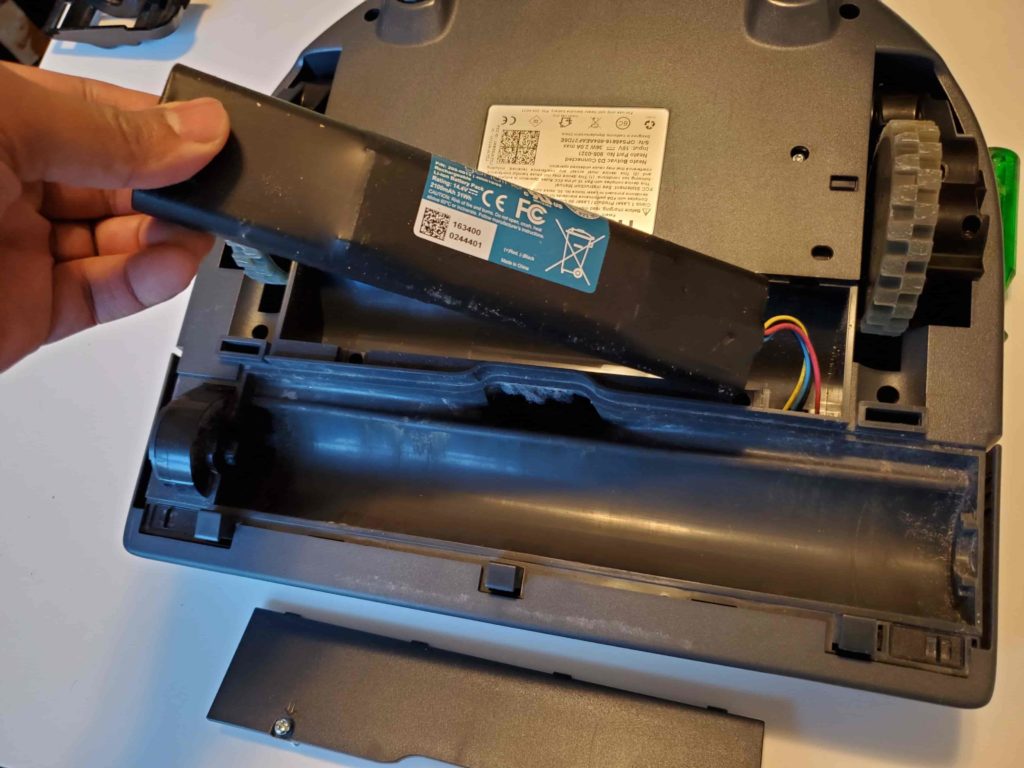
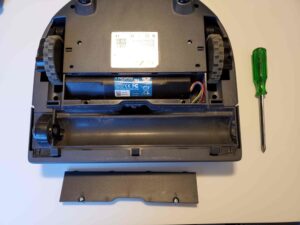
It might be time to change your battery. Many robot vacuum brands have replaceable batteries. You will need a screwdriver and instructions from your manufacturer.
Replacement parts
I like to keep a few replacement parts handy to keep my robot vac running. Having a couple of extra filters and rollers will save you downtime.
There was a time my roller stopped turning for some reason, and I had to wait for the replacement part I ordered from Amazon.
The good news is that it’s easy to get replacement parts. Amazon carries an excellent selection for many of the major robot vacuum brands.
Conclusion
A decent robot vac is not cheap. They can range from $300 to $2000 in price. Providing adequate maintenance will protect your investment.
Spending just 20 to 30 minutes a few times a month to maintain your robot vacuum will keep it running for years.


