Are you experiencing technical difficulties with your Shark robot vacuum or looking to restore it to factory settings? You’ve come to the right place. In this guide, we will walk you through the full process of resetting your Shark robot vacuum.
There are two main ways to reset Shark robot vacuums. The first method is to use the official Shark Robot vacuum app and select the reset option in the settings. Alternatively, you can manually reset it by holding the power button for 10 seconds, waiting for a 10-second gap, and then pressing the power button again.
Before resetting your robot vacuum, it’s important to understand when it’s appropriate to reset and when to avoid it. Additionally, it’s helpful to know what exactly happens when you perform a reset.
Follow this guide till the end as we cover all the necessary information you need to know to reset your shark robot vacuum.
Essential Pre-Reset Know-How For Shark Robot Vacuums
When you reset your Shark robot vacuum, it erases all settings and configurations, such as Wi-Fi network settings, cleaning schedules, no-go zones, virtual walls, and voice commands.
After resetting, you’ll need to start from scratch by connecting it to your Wi-Fi network, setting up cleaning schedules, and defining no-go zones and virtual walls.
Should I Reset My Shark Robot Vacuum?
In general, it is safe to proceed with resetting your Shark robot vacuum because what it does is only returning the robot vacuum to its factory default settings. So there is no harm to the device itself, the only thing is you’ll lose all the data and you have to re-input all the information.
There are a few reasons why you might need to reset your Shark robot vacuum. These include unresponsiveness to commands, getting stuck on objects or in corners, improper floor cleaning, or when selling your vacuum. So if you are in any of these situations, then it is worth it to reset your shark robot vacuum.
| When To Reset: | When To Avoid: |
| Unresponsive to commands | Vacuum in use or cleaning |
| Getting stuck on objects or corners | Wet or damp surfaces |
| Wi-Fi connectivity issues | Unstable or uneven surfaces |
| Selling or transferring ownership | Presence of large debris or liquids |
When the Shark robot vacuum is in good–working condition, or if the performance issue is not directly caused by the vacuum itself, it makes sense to avoid resetting the robot vacuum. Instead, focus on addressing the specific problem and troubleshooting it.
Benefits Of Resetting Shark Robot Vacuum
Resetting your Shark robot vacuum can bring several benefits that can enhance its performance and resolve various issues. Here are the advantages of resetting your Shark robot vacuum:
1. Clears Settings and Configurations:
When you perform a reset, all settings and configurations, including Wi-Fi network settings, cleaning schedules, no-go zones, virtual walls, and voice commands, are erased. This allows you to start fresh and reconfigure your vacuum according to your current needs.
2. Resolves Performance Issues:
If your Shark robot vacuum is experiencing problems such as unresponsiveness to commands, getting stuck on objects or in corners, or not cleaning floors properly, a reset can help resolve these issues. It clears any temporary glitches or software conflicts that may be affecting its performance.
3. Improves Connectivity:
Resetting your Shark robot vacuum can improve its connectivity to your Wi-Fi network. This is especially helpful if you’ve recently changed your Wi-Fi settings or encountered connectivity issues.
By reconnecting it to your network, you ensure a stable and reliable connection for seamless control and updates.
4. Prepares for New Owners:
If you’re planning to sell or transfer ownership of your Shark robot vacuum, performing a reset is essential. It erases all personal settings and data, ensuring a clean slate for the new owner to set up and personalize the vacuum according to their preferences.
5. Easy Troubleshooting:
In some cases, when your Shark robot vacuum encounters persistent issues that are not resolved through other troubleshooting methods, a reset can serve as a comprehensive solution. It allows you to start afresh and potentially overcome any software-related problems.
Here’s How To Reset Shark Robot Vacuum
The resetting process of shark robot vacuum is very short and simple as follows:
Manual Reset Through The Shark App
To manually reset your Shark robot vacuum through the app, ensure that it’s connected to the internet and that you have the SharkClean app installed on your mobile phone.
Open the app, sign in to your account, tap on the “Settings” option in the app interface, and then click on the “Reset” button and you’re done!
Resetting To Factory Settings
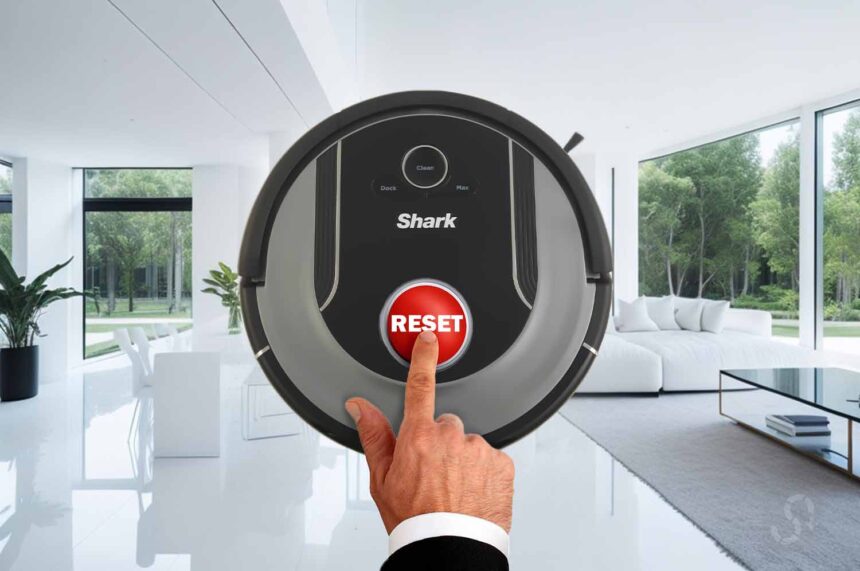
To reset your Shark robot vacuum to factory settings using the button, start by turning it off. Locate the reset button at the back of the vacuum and press it and then keep it in that condition for 10 seconds. You will notice that the shark robot vacuum will turn off.
Don’t worry, just hold on for about ten seconds more and press the power button which should complete the process of resetting your robot vacuum to factory settings.
Reset Success: Signs to Spot
- The vacuum will start up in its factory default mode.
- The vacuum will forget all of its previous settings and configurations.
If you do not see any of these signs, then the reset process may not have been successful. In such a case, you can wait for a few seconds and begin the reset process again.
By the way, if you’re a fan of robot vacuums, then I’m pretty sure you wouldn’t want to miss out on my guide about the top robot vacuums that are designed to avoid bumping into objects.
Shark Robot Vacuum Troubles Still Persist? Here’s What To Do
If you have tried all the methods and the problems still persist, you can refer to the specific error codes displayed by your Shark robot vacuum. These error codes indicate specific issues, allowing you to troubleshoot the robot vacuum accordingly.
For instance, here are some examples of error codes and their specific meanings for the Shark IQ robot vacuum model.
- Battery Icon Red Flashing: It indicates the battery needs charging. Recharge the battery to solve the problem.
- Clean Red + ! Red Flashing: It indicates that there is an issue with the suction motor of the robot vacuum. You can remove any clogging or blockages in parts, and if that doesn’t fix the issue then you will have to contact Shark’s tech support team.
- Clean Blue + ! Red Flashing: It indicates that there is some dirt stuck in the brushroll causing the performance issue. Removing the dirt should fix the problem.
Like these, depending on your Shark robot vacuum model, you may encounter various error codes on your device. These error codes are often indicated by blinking or flashing lights, such as red or blue, and other icons.
To find a comprehensive list of all the error codes and their respective details, refer to your model-specific Shark robot vacuum manual. Simply search for your model name along with the term “manual” to quickly access the specific manual.
If you still encounter problems while resetting, reach out to Shark customer support for assistance. They can guide you through the reset process and troubleshoot any issues you’re facing. Alternatively, you can also check out their user manual.
Recommended Read: Which Robot Vacuum Is Most Reliable?


