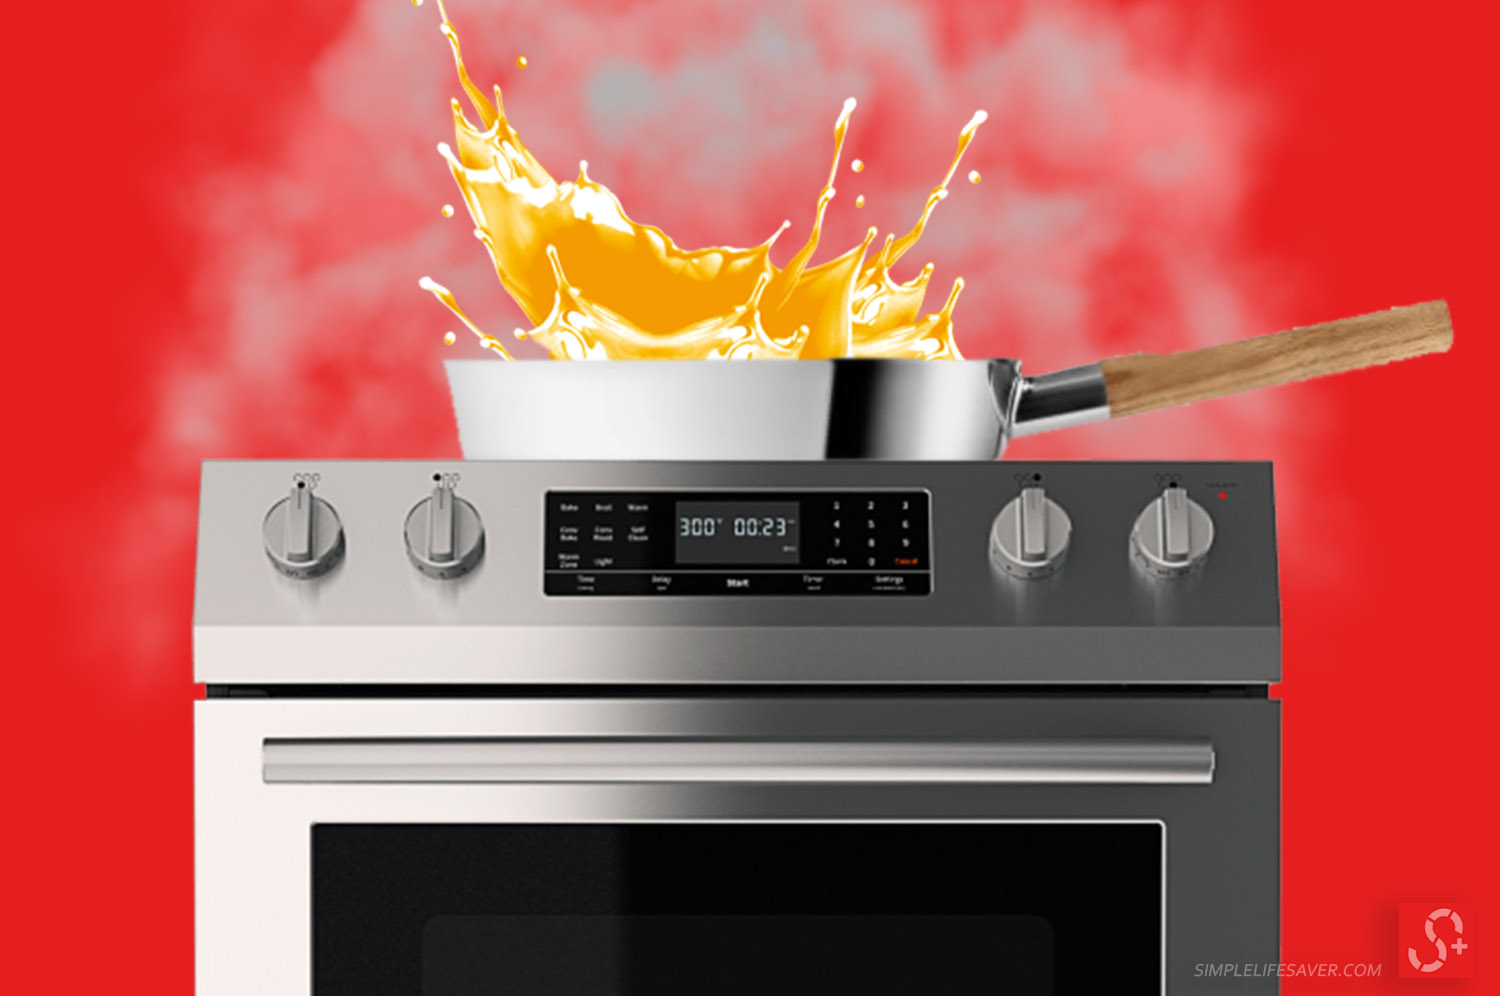
I love the taste of fried food, but I don’t like the process and mess that comes along with it! While cooking, grease splatter can get all over your stove and surrounding area.
It can become lodged in crevices and build upon your stove, walls, countertop, and cabinets. Grease build-up on surfaces can leave an odor and cause you’re home to smell undesirable.
Being proactive when it comes to dealing with grease will give you less work to do in the long run.
By implementing a few simple things, you can deal with grease splatter without dramatically changing your cooking routine.
Below you will find items that will help you prevent, manage, and clean grease off of surfaces.
LATEST VIDEOS
Reduce frying splatter by reducing water
You’ve probably heard the saying oil and water don’t mix. This is true for frying as well.
For any type of pan you’re using, you want to make sure it’s completely dry before adding any oil.
If you add oil to a hot pan that has water in it, the oil will pop and splatter all over.
Even small trace amounts of water in the pan can cause the oil to pop like fireworks!
If you’re a bit impatient, you can put the pan on medium heat till all the water dries.
The heat in the hot pan will completely evaporate the water. Make sure all the water has evaporated before adding any oil.
If you’re frying food that is damp with water, pat dry as much of the water as you can get.
If you’re dealing with frozen food, you can run it under the water to remove the ice crystals then pat it dry.
Reduce frying splatter by using a sauté pan
The straight sides of a sauté pan give you the ability to add more liquid. The straight sides also reduce the likelihood of oil splashing out of the pan.
The tall sides are really useful for shallow-frying. You can add a half-inch of oil to cooking meatballs or braising chicken thighs in white wine.
One drawback of using a sauté pan over a skillet is losing the ability to toss food when frying. A skillet has sloped edges that allow food to glide up the sides of it.
Another drawback is how rapidly a sauce will reduce.
Some people believe the sloped side of a skillet evaporates moisture better than a saute pan.
This allows you to get a better sear on meat.
I wouldn’t recommend tossing if you’re truly serious about reducing oil splatter in your home — sorry guys, no more impressing people with fancy egg flipping.
Alternately any larger pan will achieve the same results as stated above.
Reduce frying splatter by closely monitoring it
There are many cooking tools on the market, like the Instant Pot, that allows you to set and forget it.
But if you’re frying in an open-top pot or pan, you will need to be nearby the prevent the oil from getting out of control.
If you have to leave the cooking area for any reason, I recommend reducing the heat before you go.
Reduce frying splatter by using a lid
Using a lid is one great way to stop grease cold in its tracks! You can make it sit slightly off-center if you need to release some heat.
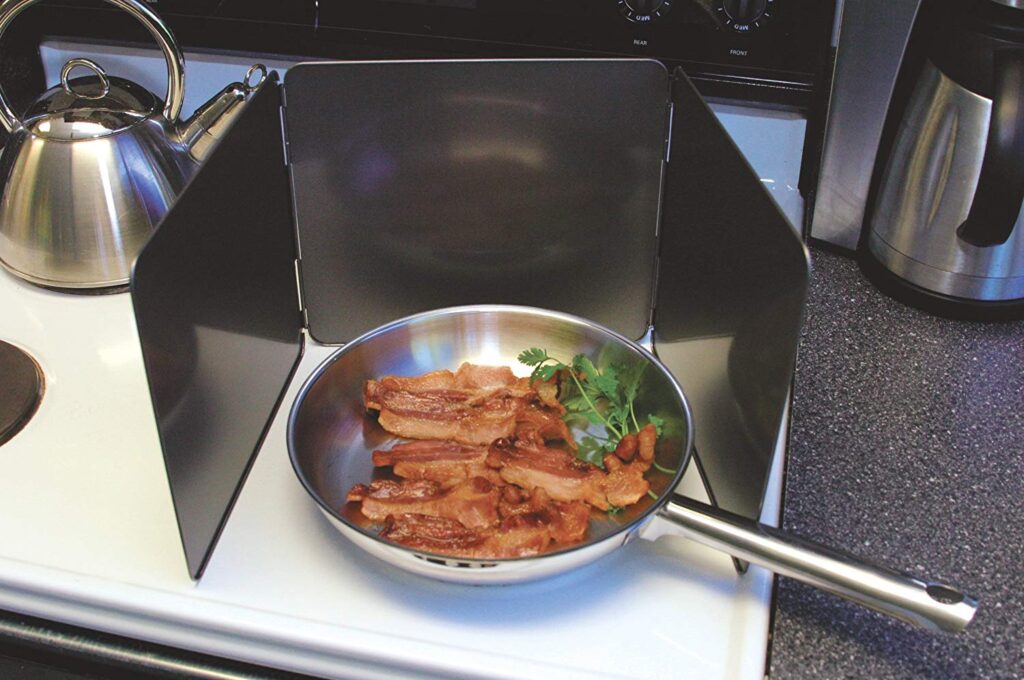
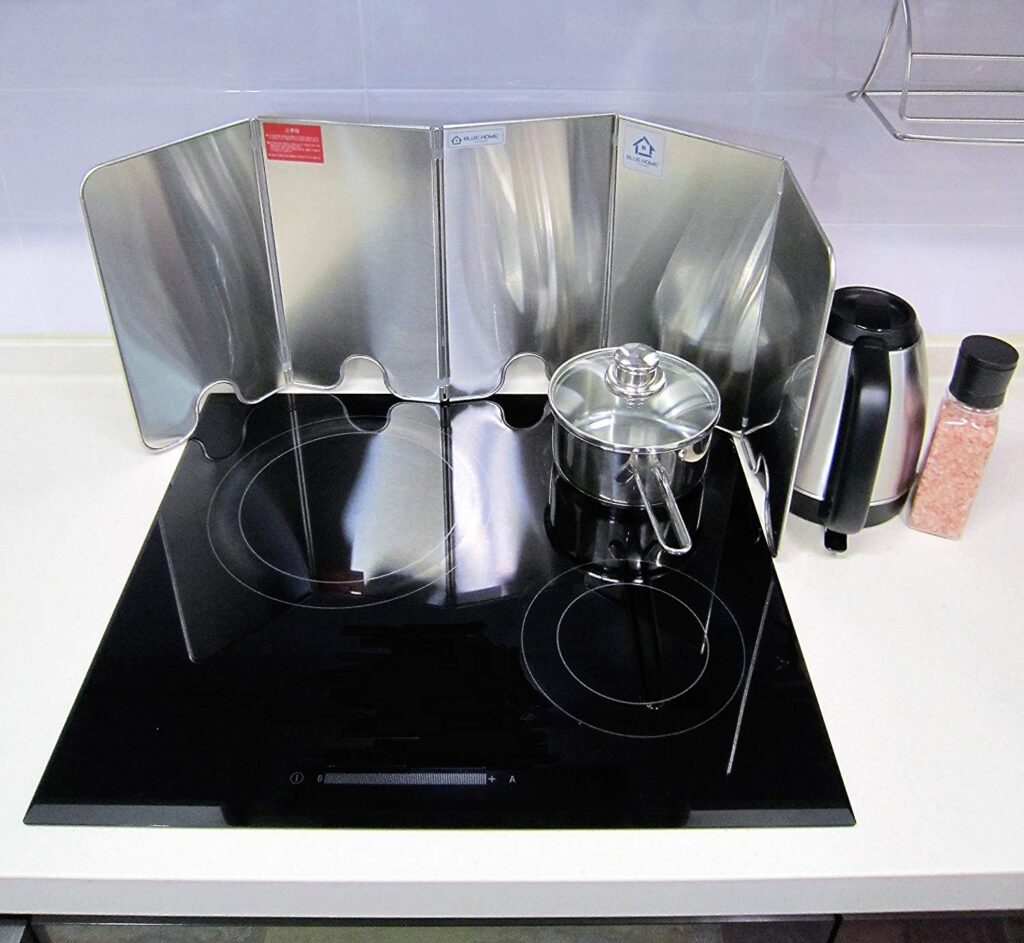
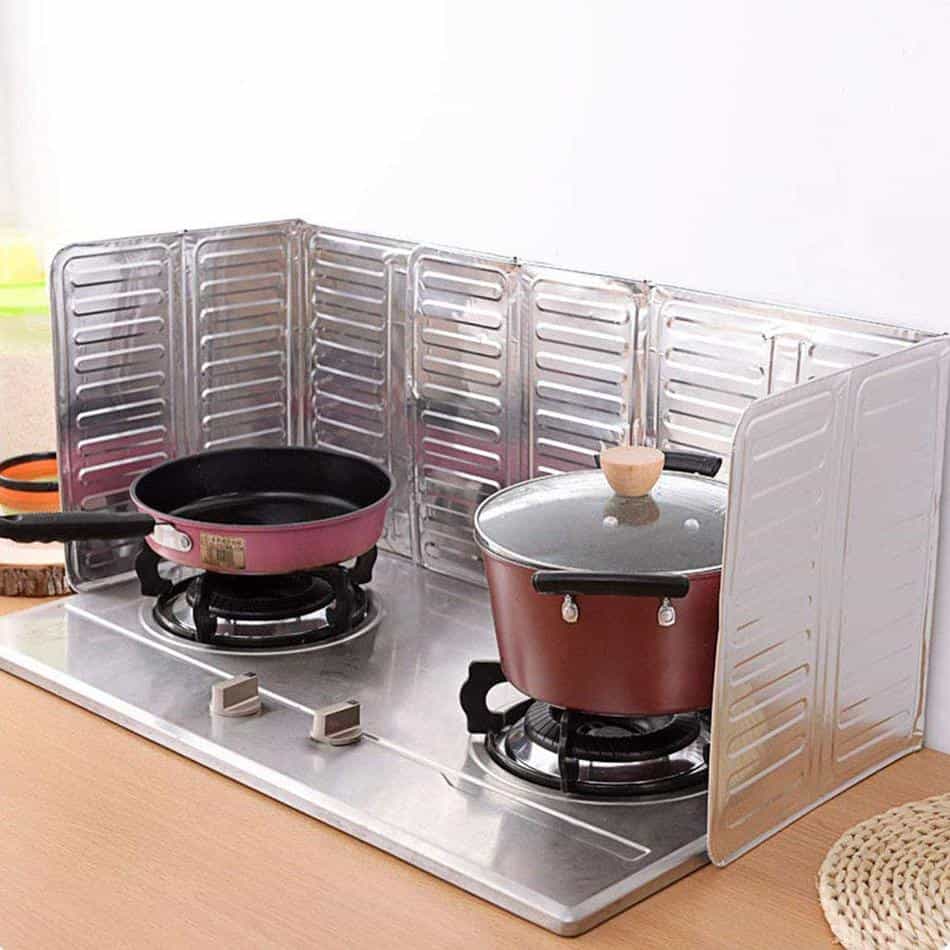
Reduce frying splatter by using a splatter screen
A screen splatter can help to control oil splatter from reaching areas like your stove, countertop, and walls.
The high-walled design centralizes the splatter, so you have a lot less area to clean.
They come in 3 to 5-sided designs. The design makes it easy to fold flat and store away when you’re done cooking. It’s also easy to wash because of its flat non-stick surface.
You can even use something like a Frywall. Frywalls are cone-shaped silicon cylinders that sit in your frying pan.
Because they are made of flexible silicone, they are easy to fold and store away. It rolls into a cup-sized sleeve for compact storage.
Frywalls are BPA-free and FDA-compliant. This silicone can withstand sustained temperatures of up to 450°F. They are also dishwasher-safe and easy to clean.
Not only does the Frywall combat oil splatter, but it also extends the sides of your pan. This gives you space to throw leafy items that need the initial space to cook down.

Prevent frying splatter by using a multicooker
One way to eliminate splatter is by using a multicooker. These types of cookers allow you to make a wide variety of things all in one pot.
When you cook items in a multicooker, the pressurized lid locks in all the food that can potentially splash out.
List of things a multicooker can do
Sauté
Pressure cook
Steam vegetables
Warm food
Make yogurt
Sterilize baby bottles
and more
Cleaning oil splatter off your stove and other areas
Splashing oil has a way of getting all over the place. Every time you clean up your stove, there might be areas of it you didn’t account for.
Food and oil splatter can sometimes not be visible to the eye.
Having proper lighting in your kitchen also helps you see where food residue has settled.
Important: Settled residue on surfaces in your kitchen is one of the main leading causes of smells. Keeping your surface area oil and residue-free is essential to having a good smelling home.
Deep cleaning your stove
Giving your stove a deep clean depends on how frequently you cook and the type of foods you make.
If you’re cooking heavily and your stove gets regular use, I recommend deep cleaning it at least once a week.
Steps to deep cleaning your stove
- Remove knobs and put them to soak in water and a good grease remover.
- Use a sponge or rag to lightly saturate all areas of your stove with a cleaning solution that breaks down oil
- Let the cleaning solution sit on the surface (Follow the directions of your preferred cleaning solution)
- Wipe entirely with fresh water till clean
General cleaning tips for backsplash, countertop, cabinets, and range hood
- Make sure you clean the splatter before grease solidifies.
- Wipe all of the surface area, not just the areas where you see oil on
- When wiping, saturate the area with a decent cleaning solution.
3.1 Make the solution sit for a bit.
3.2 squeeze the water out of the sponge and make a second wipe over
the surface with fresh water.
3.3 Repeat 3.2 till the surface is not hazy and reaches your desired look.
Final Thoughts
Oil splatter can be smelly, gross, and unsightly.
It can even change the color of your walls if left untreated.
Implementing some of the tips above can eliminate or dramatically reduce the splatter you have to deal with after.
Dealing with less oil splatter will improve the look and air quality of your home!