Homes change over time, along with our tastes and style in home furnishings. The closet or wall that housed your return before may no longer be the best place for it. But what can you do about that problem?
You can hire a professional HVAC company to move your return or move it yourself. Putting the return air vent where you want it to best fit your home needs and designs. The question is, how do you move your return air vent?
LATEST VIDEOS
How to move a return air vent?
Moving your return vent can be a daunting task if you do not know-how. But we will break the process down step by step. Multiple factors will decide if it is a project that you can tackle yourself. Here are a few to consider before starting.
Recommended Read:
Other people’s cooking smells can really be a turn-off in your home. Lucky for you, I produced a guide to help reduce or even stop cooking smells traveling through vents.
- Can you access your return ductwork? This will be the piping that connects your return air vent to the return side of your unit. It may be rectangular, round, or flexible ductwork.
- If the return is metal ductwork, does it go to the return vent?
- If the return ducting goes all the way to the return vent, is the duct round or rectangular?
- Can you access the space where you plan to move the return air vent?
- You will want to plan out where your new return air vent will be while considering the previously stated things. If you would like your return to be on the ceiling, but it was on the floor, that may not work. The same is true for the opposite. You may at least want to have a professional check to see if it is an option.
- Once you have the new location scouted out, you will want to assess how to get the return from its old position to the new position. The easiest way to do this will generally be by using flexible ducting, or flex duct as it is commonly called. It is similar to a flexible dryer vent but with insulation and plastic or foil wrapped around it. Trying to extend on with a rectangular or metal round duct would be more costly and difficult for you to do as a homeowner.
- If your old return consists entirely of rectangular ductwork from the unit to the old return location, you will want to block off the old hole in the ducting and cut a new hole for the flex duct. You will need an air tight-fitting (ATT) the same size as your flex duct, which is a short cylinder with a lip around the base that allows you to screw it flat to the ducting.
- You will slide the inside liner of the flex duct over the ATT and then tighten a Panduit around it, a huge zip tie that can be bought at your local big box hardware store. Then you will slide the insulation and outside cover over that and Panduit that as well.
If you have round metal ductwork going from your unit to the previous return, you should be able to unhook it and slide the flex duct over the end and Panduit it as previously described.
If it is already a flex duct that is run from the unit to the old return, then you can either use a small piece of round metal ducting the same size as the flex duct to make a coupling or replace the whole thing if a new bag of flex duct will reach. A standard bag of flex duct is twenty-five feet, but you can purchase longer sections in specific sizes. - At the location of the new return, if it is going in a ceiling or floor, you will want to frame the hole first, or in other words, build a square in which the inset part of the vent will slide into, and then proceed to cut it out. If it is in a wall, you will want to find your studs cut in between them and then frame your hole.
When using a filter grill, frame and cut your hole ½ larger than the filter grill. For example, a 20×25 filter grill should be framed and cut to 20.5 x 25.5 for proper fitment. If you use a flat grill that will not hold a filter, keeping it at the correct dimensions is better. - Once your hole is made, you will want to cover the back of it with sheet metal, cut a hole the size of your ATT for your flex, attach the ATT, and then connect the flex in the same fashion.
- Finally, silicone all the gaps in the boards and sheet metal, screw your grill, and install the filter. After which, you will have successfully installed a brand-new return air grill.
How much does it cost to move a return air vent?
If you plan to move the return air vent on your own, you will expect to pay between $200 and $500 for materials, depending on which materials you need and what size.
If you plan to have a professional HVAC company complete the project, you will expect to pay between $400 and $700.
These prices may vary depending on where your home is located, the materials needed, and the difficulty of completion.
What does a return air vent do?
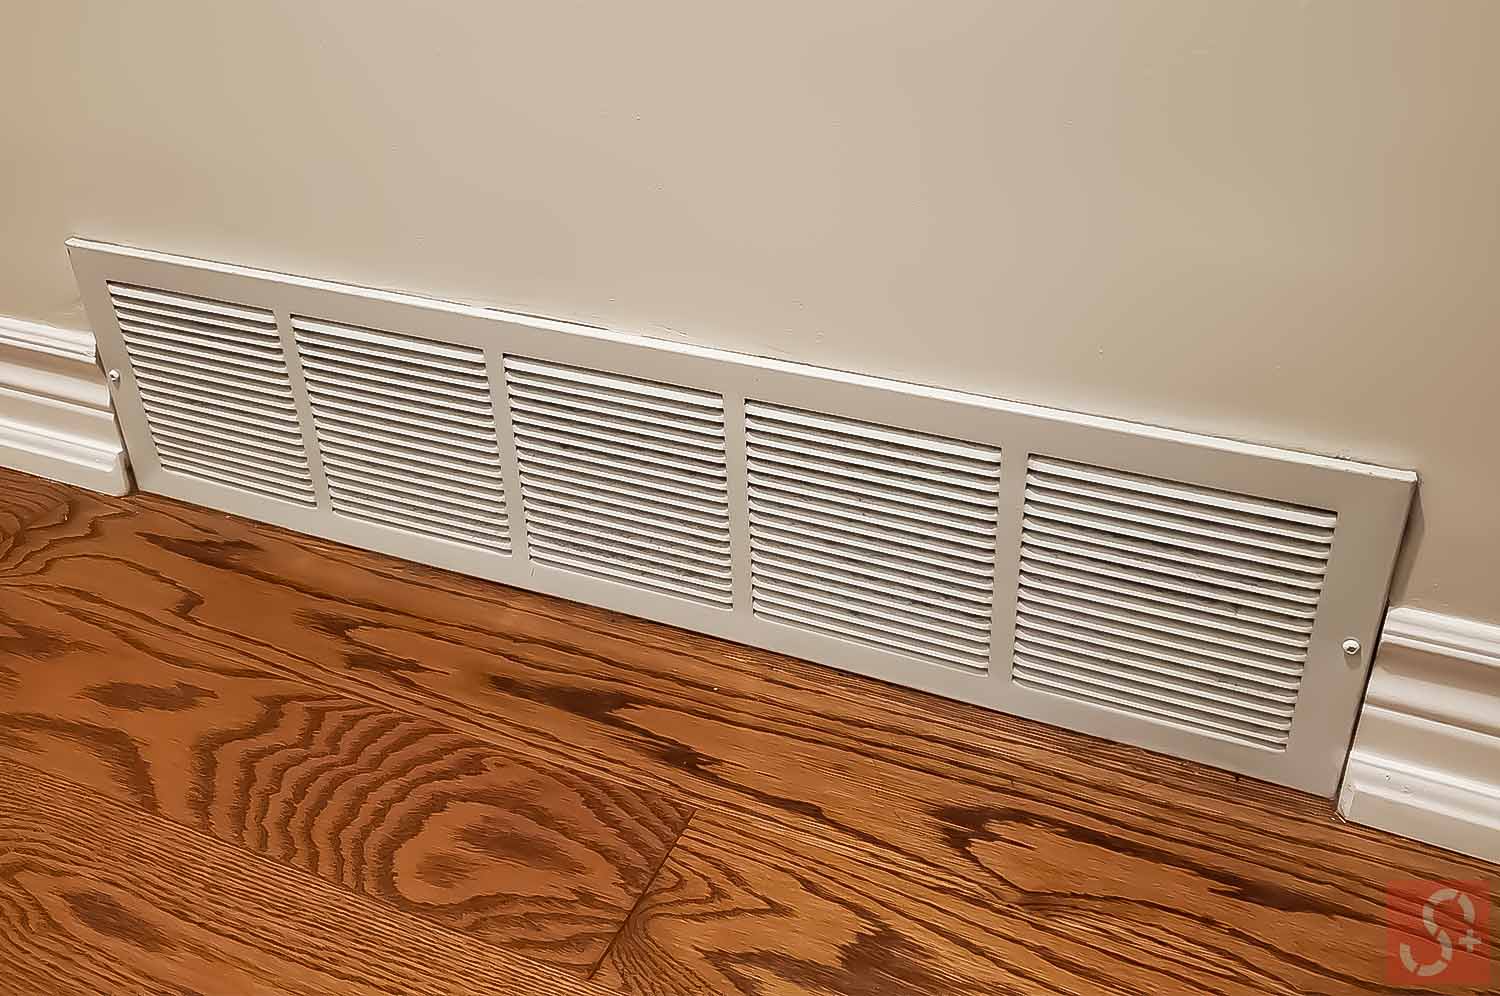
There are two types of return air vents. One is a filter grill, which is inset and holds a filter behind the front grill. The other will be a flat vent. It has screws around it and does not move or have a filter behind it.
Recommended Read:
I love open-concept kitchens, but when food is not properly vented, your home can fill with smoke and oil vapor. I created a helpful called: Prevent cooking smells from traveling in an open-concept kitchen.
The point of the return air vent is to allow space for the air from your home to be sucked back into your HVAC system. Your HVAC system pushes air into your home to cool it off in the summer or heat it in the winter.
The system must move the conditioned air into your home while pulling the non-conditioned air out. The system works much better by recycling your air and keeping your home from becoming overly pressurized.
DIY vs. Using a pro
Whether you move your return air vent or hire a professional, you will have to use the same materials. If you purchase the materials yourself, you may save some money because most businesses add a markup on their products. But you will also have to acquire the tools to do the job, which may raise the project’s cost higher than if you had a professional do it.
Tools & Materials needed
- Tin snips
- Hammer
- Sawzall (to cut through flooring if applicable)
- Circular saw (to cut lumber for framing)
- Sheetrock saw (to cut a hole in sheetrock if applicable)
- Tape measure
- Pencil
- ¼ hex driver (for a drill)
- A drill or impact
- Sheet metal screws
- Wood screws or nails
- Sheet metal
- 1 or 2 ATTs
- Flexible ducting
- Two-by-four or larger board (appropriate size to the area that will be framed)
- Panduit’s (very large zip ties)
Where should a return air vent be located?
When deciding where to place your newly moved return air vent, you will want to consider a location that can draw air equally from all places in your home. If your supply vents are in the ceiling, it is best to place the return air lower to the floor. And the opposite is true. If you have supply vents on the floor, it will be best to raise the return.
It will never be a good idea to have the return air vent on the floor. This was popular years ago, but it allows dirt and miscellaneous things to accumulate inside much quicker than any other location.
This has become much rarer than it once was and is hardly ever done anymore. Walls and ceilings are perfectly acceptable locations. Generally, the middle of the home is best, so it can draw from the whole house. Try to stay away from kitchens, bathrooms, and being too near to a supply vent.
Also, you may want to consider long hallways, as the air has a more challenging time pulling air from the rooms at the end of hallways and may leave them less conditioned. Moving the return to the beginning of the hallway or adding a second return may be a good option for this situation.